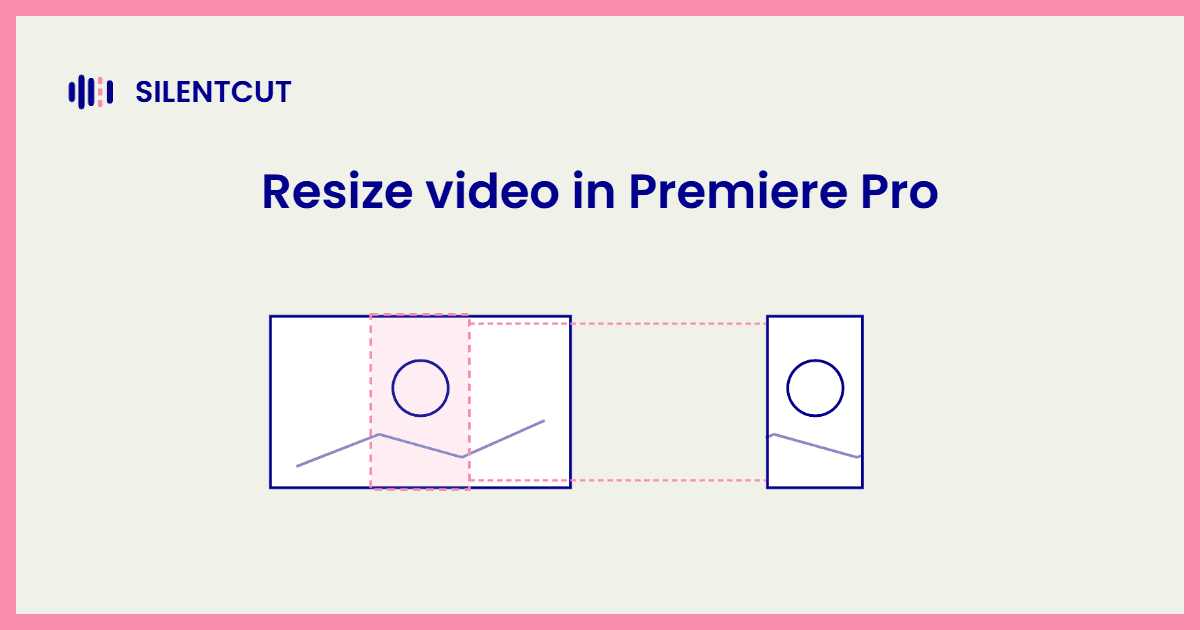
Every guide on how to change video size in Premiere Pro is really answering four different questions. The sequence's frame size, a clip's size inside that frame, the aspect ratio of the whole video, or the dimensions of the exported file. Four different menus, four different jobs. Here's each one, and if what you actually want is to punch in on a shot, that's a zoom, not a resize.
Change the sequence frame size
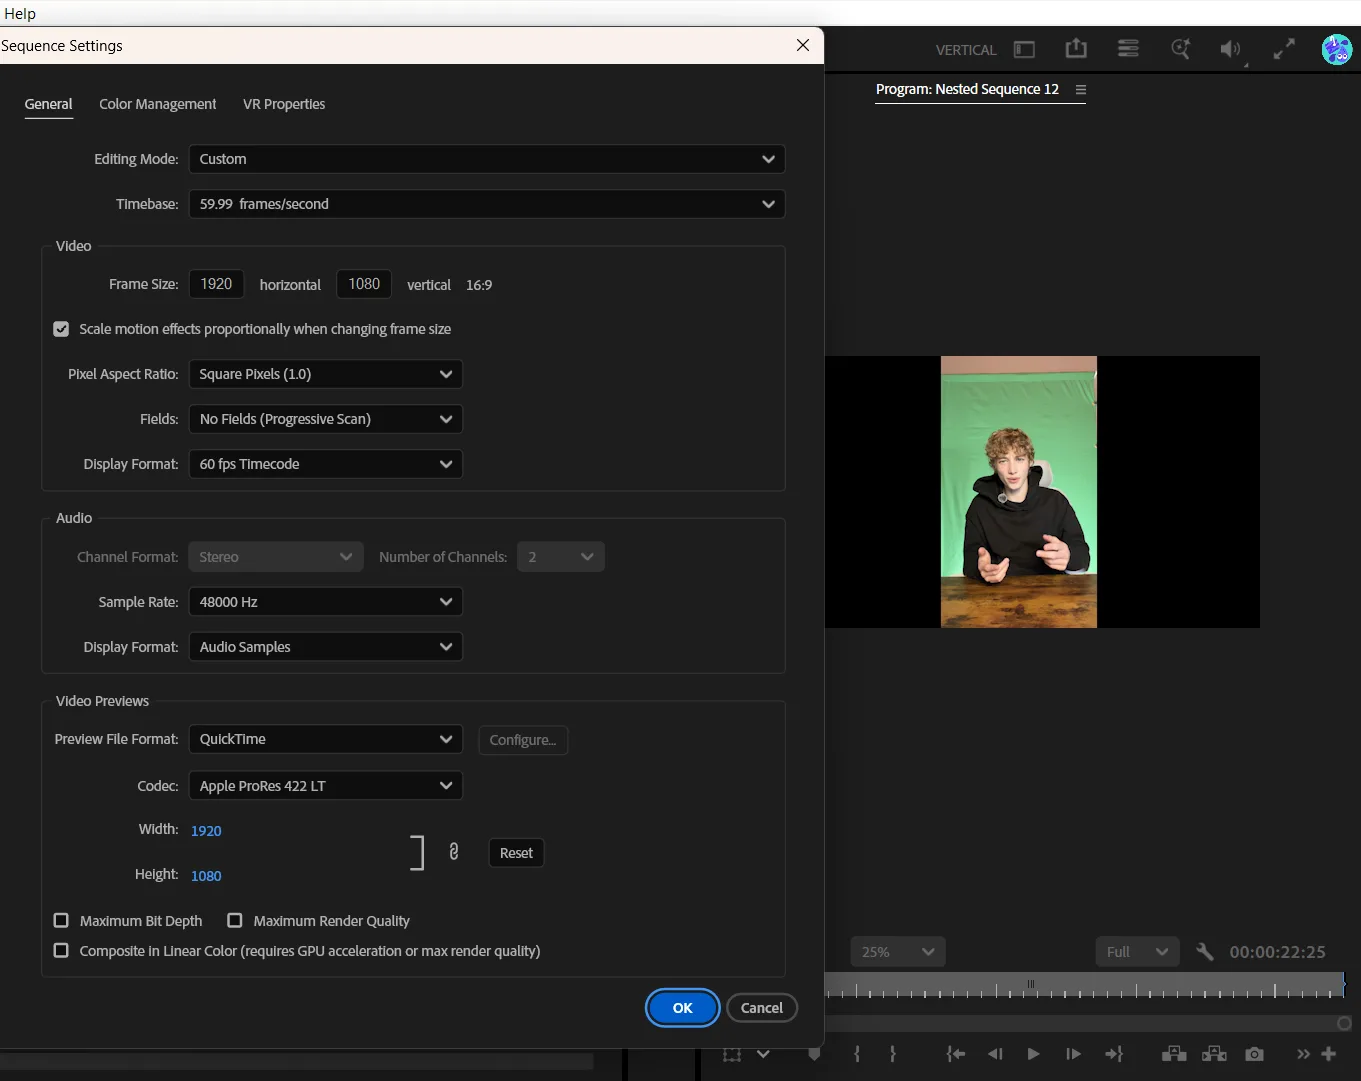
The sequence's frame size lives under Sequence Settings, and it's the number every clip is measured against.
- With the sequence open, choose Sequence in the menu bar, then Sequence Settings.
- Under Video, enter the horizontal and vertical dimensions for Frame Size. Premiere shows you the resulting aspect ratio as you type.
- Confirm, and check your timeline. Clips keep their own scale values, so footage that filled the old frame may not fill the new one.
Starting a project fresh, set this in the New Sequence dialog instead, or drop a clip on the New Item button and Premiere builds a sequence that matches the footage exactly. Matching the source is the setting that prevents most size problems before they exist.
Resize a clip inside the frame
To make a clip fit the frame, right-click it and choose Set to Frame Size.
That one command fits the clip by adjusting its Scale property, which keeps the full source resolution available for later. Its sibling, Scale to Frame Size, resamples the clip to the sequence's dimensions instead, cheaper to play back, but a punch-in afterwards blows up resampled pixels. For manual control, select the clip and drag Scale and Position in Effect Controls, the same controls a punch-in uses.
How to change Premiere Pro aspect ratio
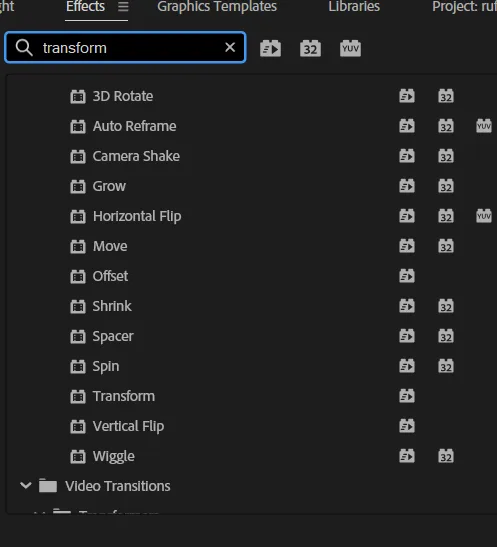
To convert a video to a different aspect ratio, use Auto Reframe Sequence, which rebuilds the sequence at the new ratio and keeps the action in frame.
- Select the sequence in the Project panel.
- Choose Sequence, then Auto Reframe Sequence.
- Pick a Target Aspect Ratio preset, 9:16 for vertical, 1:1 for square, or set a custom ratio.
- Premiere duplicates the sequence at the new dimensions, applies the Auto Reframe effect to every clip, and files the copy in an Auto Reframe Sequences folder in the Project panel. Your original stays untouched.
The effect tracks the subject and animates the framing, so a talking head stays centered instead of getting guillotined by the crop. Skim the result anyway. Auto Reframe follows motion, not meaning, and a two-person shot sometimes needs a manual call on who matters.
Resize at export
Export dimensions are their own setting, so one master sequence can ship at any size.
In the export window, the frame size fields under Video override the sequence's size for that render. Deliver a 1080p cut of a 4K master by changing nothing but the export. Scaling up in export buys pixels but not detail, so export at or below the sequence size unless a platform demands otherwise.
Resizing for vertical is a pacing job too
Vertical clips forgive nothing, least of all dead air.
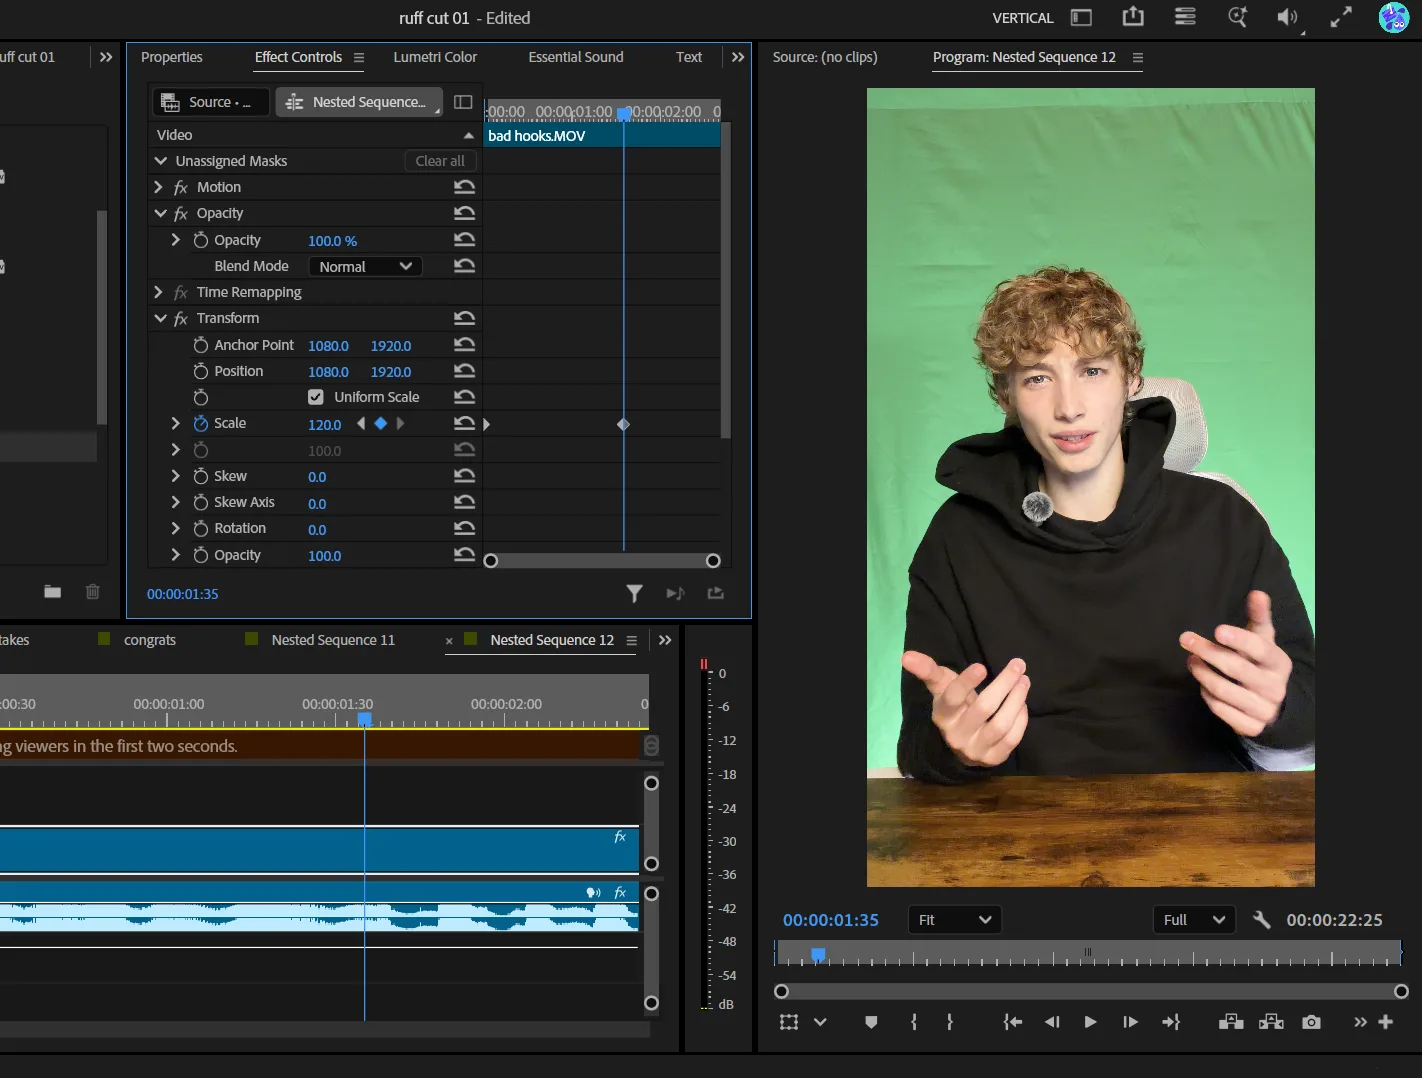
Most resizing today is the vertical pipeline, a long 16:9 master carved into 9:16 clips. Auto Reframe solves the geometry, and pacing decides whether anyone watches past the first second. A pause that reads fine in a 20-minute landscape video kills a 40-second vertical clip. Silence Remover cuts the dead air out before the reframe, and SilentCut for Premiere Pro puts those cuts on your timeline next to the rest of your Premiere Pro plugins. Tight first, then tall. SilentCut (silentcut.ai) isn't public yet.